 Loading... Please wait...
Creating a Lay-By.
Posted by Microtrade Australia on 15th Sep 2022
Creating a Lay-By.
PowerPos can create lay-by’s to do so start a transaction in the usual way and when you have the products that the customer wants in the lay-by select finish as you would for a normal transaction. Instead of choosing Cash or credit card like you normally would you select Deposit/Layaway in the payment section.
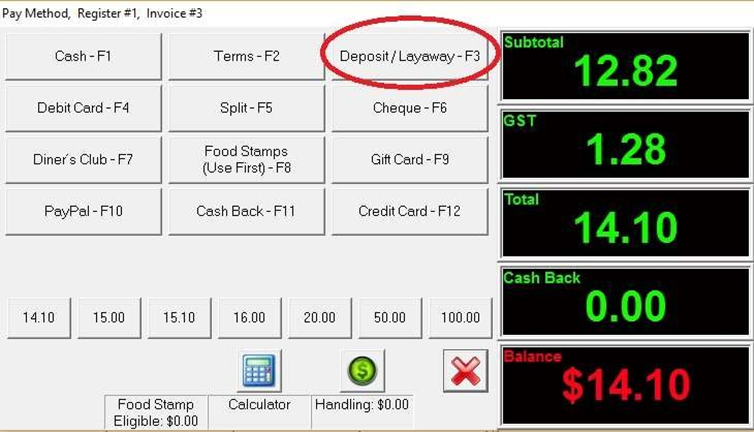
As soon as you have clicked this option the system will prompt you to select a customer for the lay-by.(see creating customer records if you don’t know how to enter a customer) Either select and existing customer or create a new one. Once you have either made the selection or created a new customer the next screen presented is the lay-pay payment screen.
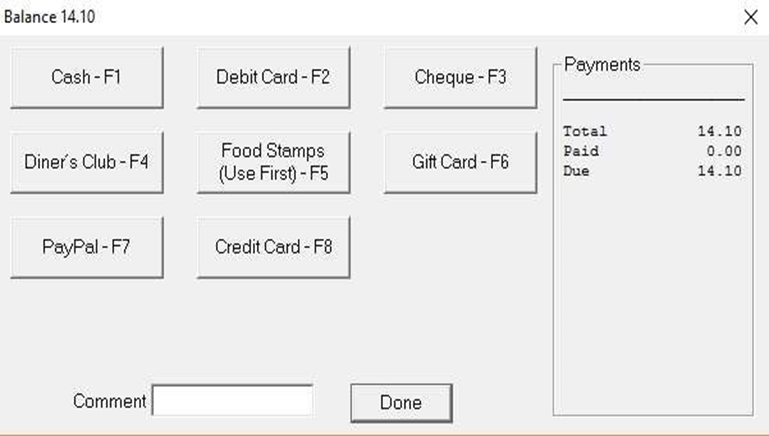
On this screen you will enter the payment type for the deposit/first payment of the lay-by. Enter the amount the customer is paying in the payment screen as per a normal transaction. Once you have enter the amount and clicked of a receipt will be printed for the customer and the creation of the lay-by is completed.
Making a payment for a Lay-By.
Start from the sales screen as you normally would but instead of selecting products for purchase select Customer in the top left hand corner of the screen.
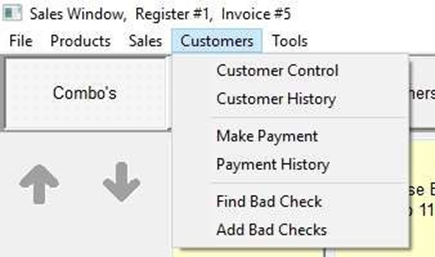
On the dropdown you can now see an option for Make Payment. If you select this option you will start the process of making a part of full payment against the lay-by
The system will again present you with the select/create customer screen and since you have already created the lay-by you will already have the customer in the system. Select the customer that is making the payment and the system will present you with the Advanced Payment screen.
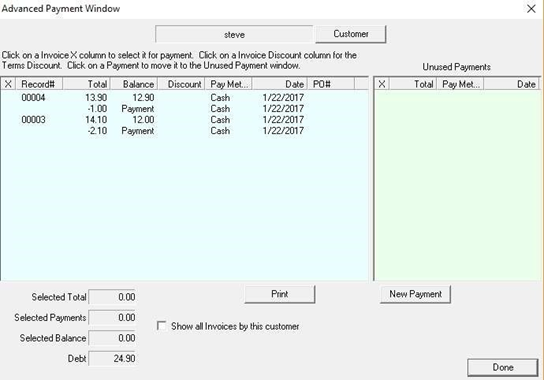
In the lower right of this screen you have a New Payment option. Select this and you will be shown the Pay Method screen, select the customers payment choice and on the next screen enter the amount the customer is going to be applying against the lay-by, you will now be presented with the print receipt option.
Once you have selected if to print the receipt you will be returned to the Advance Payment screen and in the upper right of the screen you will see a section called unused payments, this should show you the payment the customer has just made. And you will need to apply this payment to the lay-by.
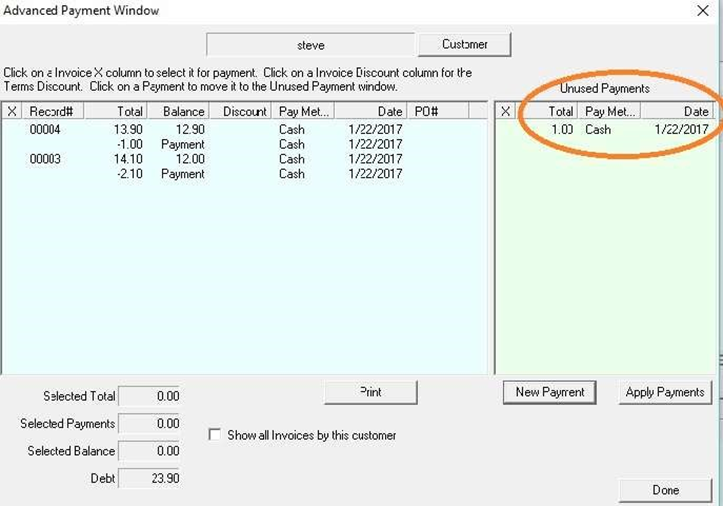
Just to the left of the payment you can see a column named X. and on the left where you can see the layby(s) you can also see a column named X there also
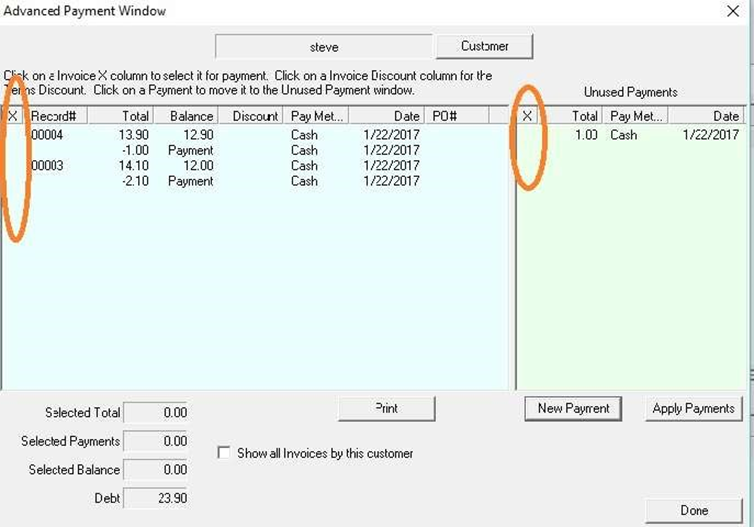
You can select both the payment and the lay-by that it is to be used against by clicking the X column next to the payment and also next to the layby. This will put an X in the column named X so you know which you have selected (clicking again will remove the X if you clicked the incorrect one)
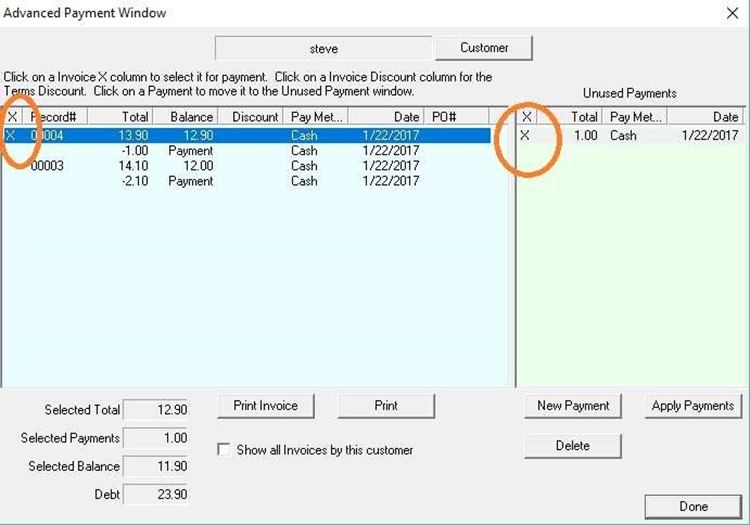
Once you have selected the payment and the layby you can click the button Apply Payment and this will take the amount paid and use it against the lay-by transaction you selected.
Once you clicked the Apply Payments button the transaction will be complete and you will be able to see the payment that has just been made on the lay-by show up on the left under the layby you selected.
I you have accidently applied the payment to the wrong lay-by you can simply click on the payment in the left and you will be presented with the following screen.

Select Yes and the payment will be moved back over to the right in the unused payments area and you can no go through the process again to apply it to the correct lay-by
